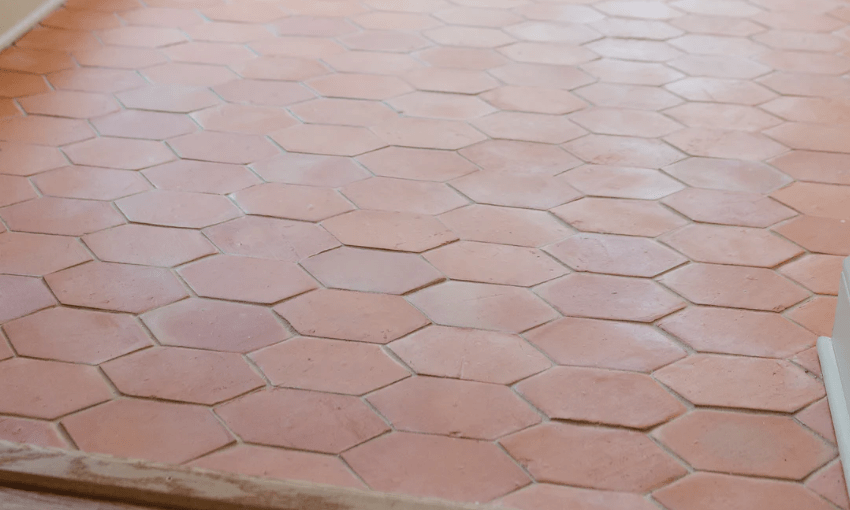
Installing your Terracotta Tile

So you’re ready to install your terracotta tile? Or maybe you want to know what it takes to install terracotta tile before purchasing it for your project space.
We encourage anyone desiring to install terracotta tile in their space to enlist the help of a professional – especially for wet or submerged application areas. But we also love a good DIY project. And for those DIY installers out there – installing handmade terracotta tile yourself can enhance the effect and charm of your space. Namely, most tile installers will attempt to make every line and level of the tile perfect.
If a perfect look is desirable for you, then hiring a professional installer is best. If you like the look of subtle yet beautiful imperfections in your space, then a DIY tile project is just for you.
Either way, installing terracotta tile is fairly similar to installing other types of tile. We love the look and feel of terracotta tile – especially how it can bring warmth, calm, and a timeless feel to your space.
Before you begin your terracotta tile install project, we recommend you connect with a professional tile installer or other building professional. You can also read over some additional helpful considerations.
Tools/Supplies Needed:
- Enough tile for your project space – best to order 15-20% beyond what your space needs to allow for cuts, sorting tile for preferred pieces, and possible mistakes
- Mortar or thinset
- 5-gallon bucket
- Mortar mixing paddle
- Spray Bottle filled with water
- Grout – we recommend Mapei Flexcolor CQ
- Knee pads
- Sponges
- Grout Float
- Tiling gloves
- Tile cutter – preferably a wet saw
- Tile trowel
- Tile spacers at the width for your preferred grout joint
- Non-acid cleaner meant for stone or porous tile
- Scouring Pads or soft-bristled cleaning brush/broom
Installation Steps:
- Prep the surface application area, as needed, by removing old tile, patching holes, leveling it, adding waterproofing sealants, installing a tile membrane, etc.
- Examine the tiles you purchased and sort out the tiles you’d prefer to use for cuts.
- Pre-plan the layout of your tiles by arranging them on your project surface and marking a reference point for placing your first tile.
- Follow the instructions for mixing your mortar.
- Use your tile trowel to apply mortar
- Use the spray bottle and apply water to the back of the terracotta tile. Terracotta tile is extremely porous and will quickly pull water out of mortar unless it is wetted before installation.
- Place your tile on the application surface starting at your pre-planned reference point. Remember to place tile spacers in between your tile as you are laying it down. Be sure to leave at least ¼” space between the edge of the tiles and the wall or other adjacent surfaces.
- As you continue laying tile, clean any mortar off your tile with a damp sponge and level the tile as needed.
- Let your tile mortar set and harden – typically at least 24 hours.
- NOTE: Before applying sealant or grout to your project installation, it is important to test the sealant and grout on unused pieces of tiles to verify the sealant or grout do not aversely effect the aesthetic you aim to achieve.
- Optional: If you are concerned about grout hazing or staining your tile, we recommend using a pre-grout treatment, like Lacetite’s Heavy Duty Sealer, before applying your grout.
- Use a grout float to apply grout and spread it into gaps between tiles.
- As you go, use a sponge or scouring pad as needed to remove excess grout.
- Once all gaps have been filled with grout, let the grout set for the recommended time noted on the grout packaging.
- Using a mild and non-acidic tile/stone cleaner, scrub and clean your tile.
- If desired, to preserve the look and prevent staining of your tile, apply a sealant to protect your tile and grout.
- Finally, install baseboard trim and transition strips as needed.


